AstroPaper is a highly customizable Astro blog theme. With AstroPaper, you can customize everything according to your personal taste. This article will explain how you can make some customizations easily in the config file.
Table of contents
Open Table of contents
Configuring SITE
The important configurations resides in src/config.ts file. Within that file, you’ll see the SITE object where you can specify your website’s main configurations.
During development, it’s okay to leave SITE.website empty. But in production mode, you should specify your deployed url in SITE.website option since this will be used for canonical URL, social card URL etc.. which are important for SEO.
export const SITE = {
  website: "https://astro-paper.pages.dev/", // replace this with your deployed domain
  author: "Sat Naing",
  profile: "https://satnaing.dev/",
  desc: "A minimal, responsive and SEO-friendly Astro blog theme.",
  title: "AstroPaper",
  ogImage: "astropaper-og.jpg",
  lightAndDarkMode: true,
  postPerIndex: 4,
  postPerPage: 4,
  scheduledPostMargin: 15 * 60 * 1000, // 15 minutes
  showArchives: true,
  showBackButton: true, // show back button in post detail
  editPost: {
    enabled: true,
    text: "Suggest Changes",
    url: "https://github.com/satnaing/astro-paper/edit/main/",
  },
  dynamicOgImage: true, // enable automatic dynamic og-image generation
  dir: "ltr", // "rtl" | "auto"
  lang: "en", // html lang code. Set this empty and default will be "en"
  timezone: "Asia/Bangkok", // Default global timezone (IANA format) https://en.wikipedia.org/wiki/List_of_tz_database_time_zones
} as const;src/config.ts
Here are SITE configuration options
| Options | Description |
|---|---|
website | Your deployed website URL |
author | Your name |
profile | Your personal/portfolio website URL which is used for better SEO. Put null or empty string "" if you don’t have any. |
desc | Your site description. Useful for SEO and social media sharing. |
title | Your site name |
ogImage | Your default OG image for the site. Useful for social media sharing. OG images can be an external image URL or they can be placed under /public directory. |
lightAndDarkMode | Enable or disable light & dark mode for the website. If disabled, primary color scheme will be used. This option is enabled by default. |
postPerIndex | The number of posts to be displayed at the home page under Recent section. |
postPerPage | You can specify how many posts will be displayed in each posts page. (eg: if you set SITE.postPerPage to 3, each page will only show 3 posts per page) |
scheduledPostMargin | In Production mode, posts with a future pubDatetime will not be visible. However, if a post’s pubDatetime is within the next 15 minutes, it will be visible. You can set scheduledPostMargin if you don’t like the default 15 minutes margin. |
showArchives | Determines whether to display the Archives menu (positioned between the About and Search menus) and its corresponding page on the site. This option is set to true by default. |
showBackButton | Determines whether to display the Go back button in each blog post. |
editPost | This option allows users to suggest changes to a blog post by providing an edit link under blog post titles. This feature can be disabled by setting SITE.editPost.enabled to false. |
dynamicOgImage | This option controls whether to generate dynamic og-image if no ogImage is specified in the blog post frontmatter. If you have many blog posts, you might want to disable this feature. See the trade-off for more details. |
dir | Specifies the text direction of the entire blog. Used as HTML dir attribute in <html dir="ltr">. Supported values: ltr |
lang | Used as HTML ISO Language code in <html lang"en">. Default is en. |
timezone | This option allows you to specify your timezone using the IANA format. Setting this ensures consistent timestamps across your localhost and deployed site, eliminating time differences. |
Update layout width
The default max-width for the entire blog is 768px (max-w-3xl). If you’d like to change it, you can easily update the max-w-app utility in your global.css. For instance:
@utility max-w-app {
  @apply max-w-3xl;
  @apply max-w-4xl xl:max-w-5xl;
}src/styles/global.css
You can explore more max-width values in the Tailwind CSS docs.
Configuring logo or title
Prior to AstroPaper v5, you can update your site name/logo in LOGO_IMAGE object inside src/config.ts file. However, in AstroPaper v5, this option has been removed in favor of Astro’s built-in SVG and Image components.
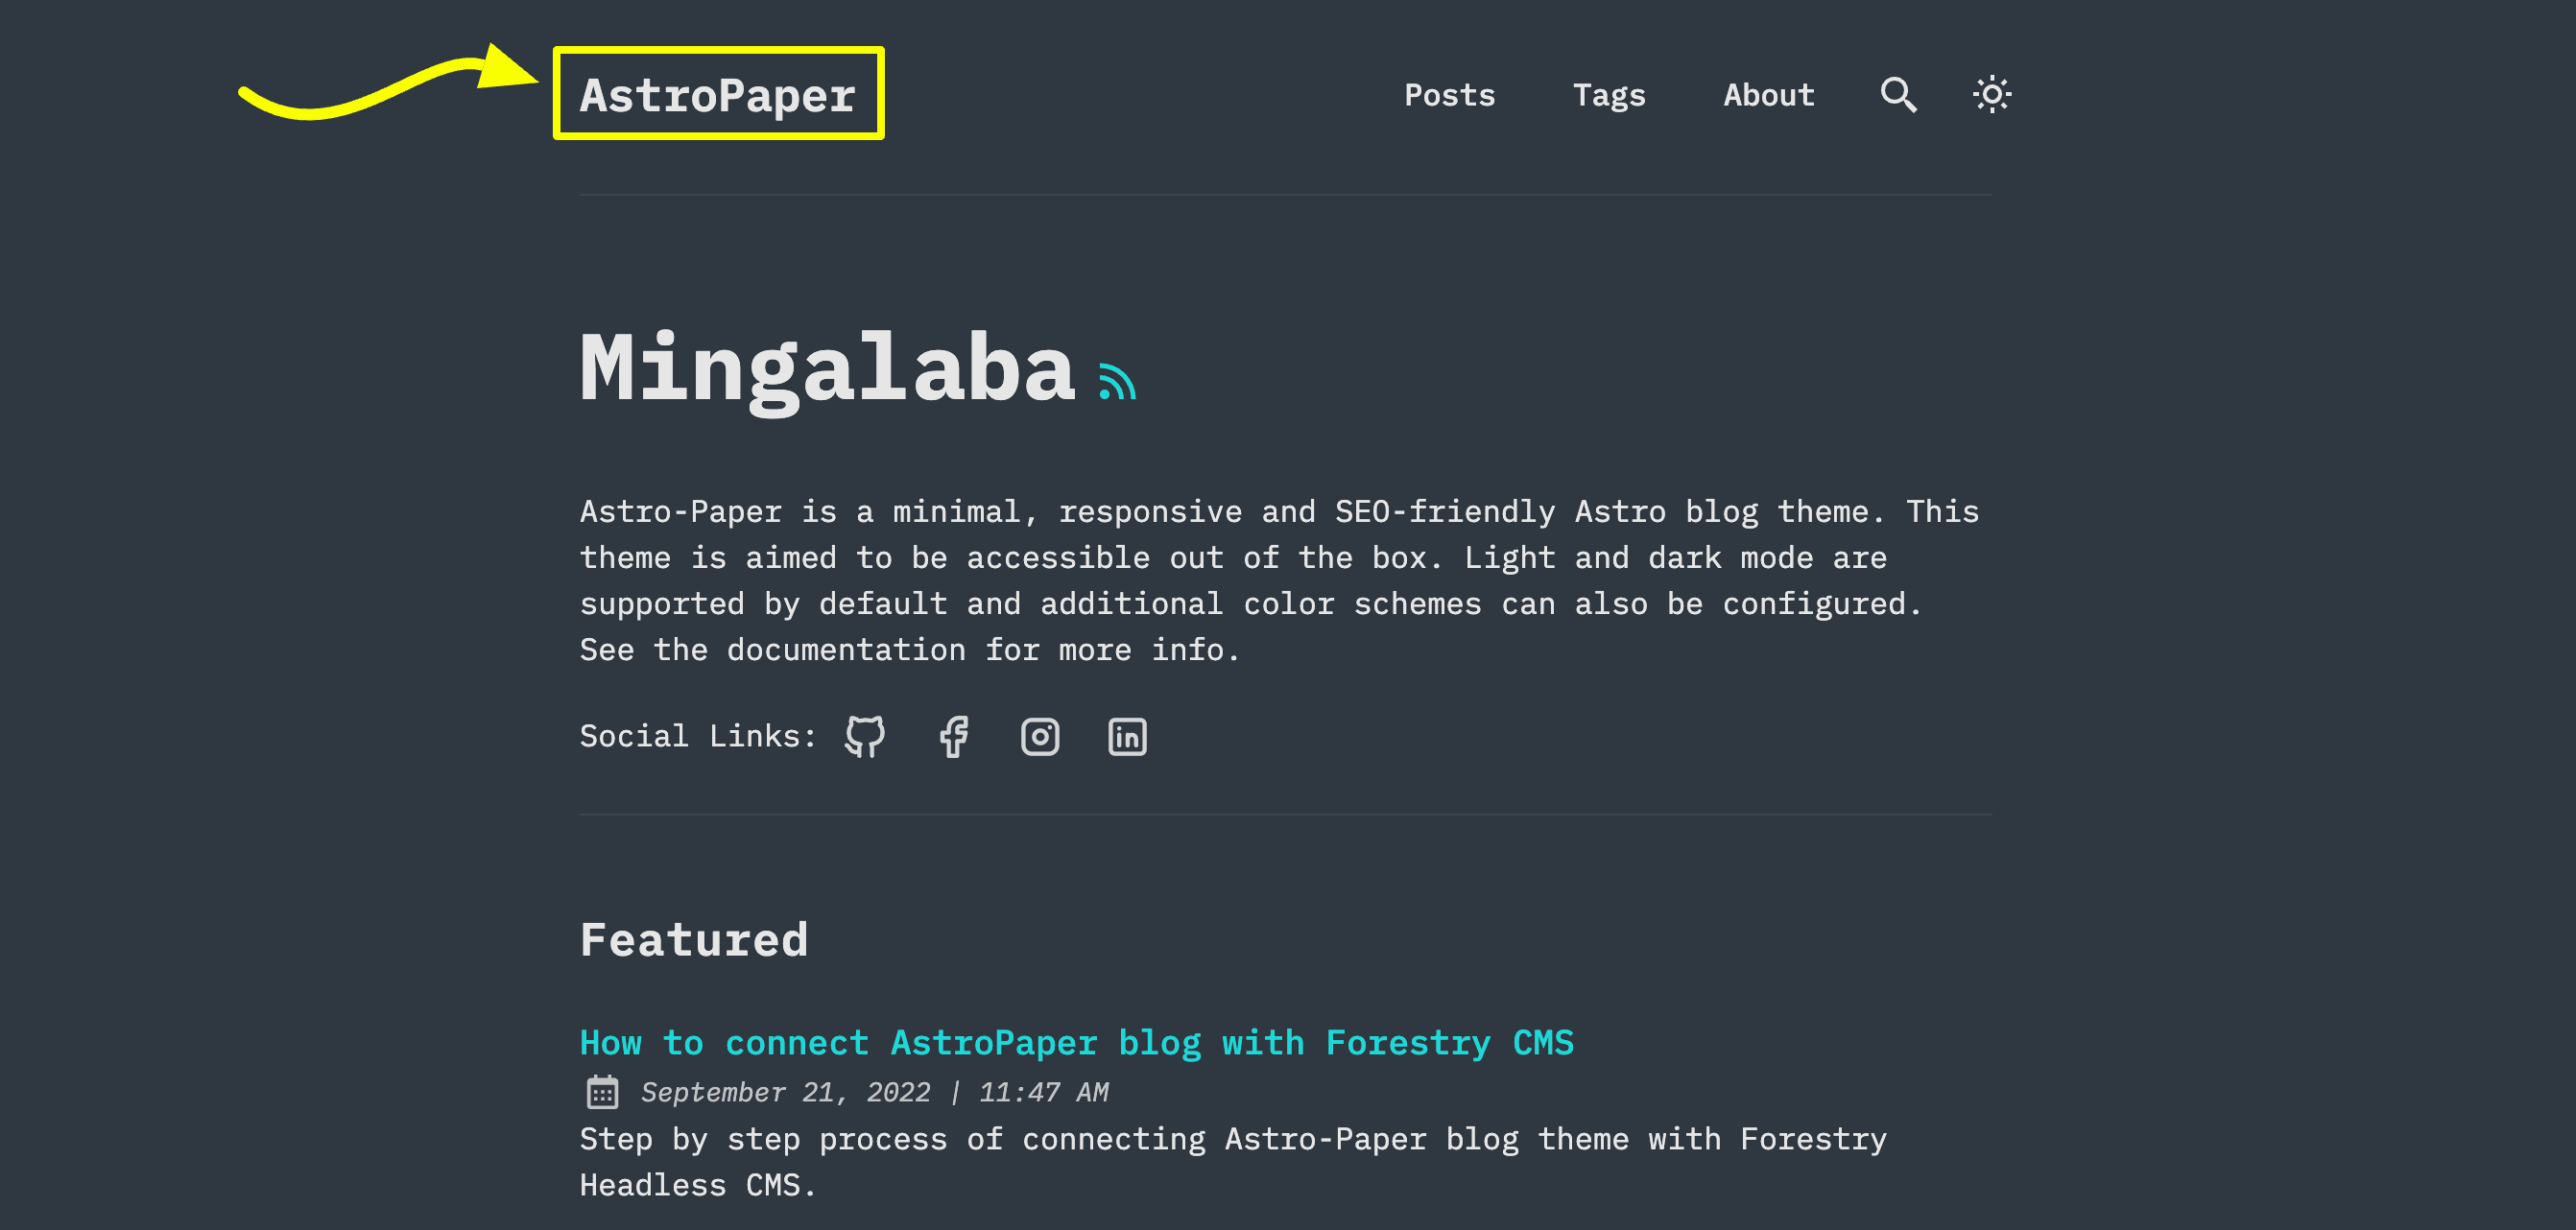
There are 3 options you can do: